
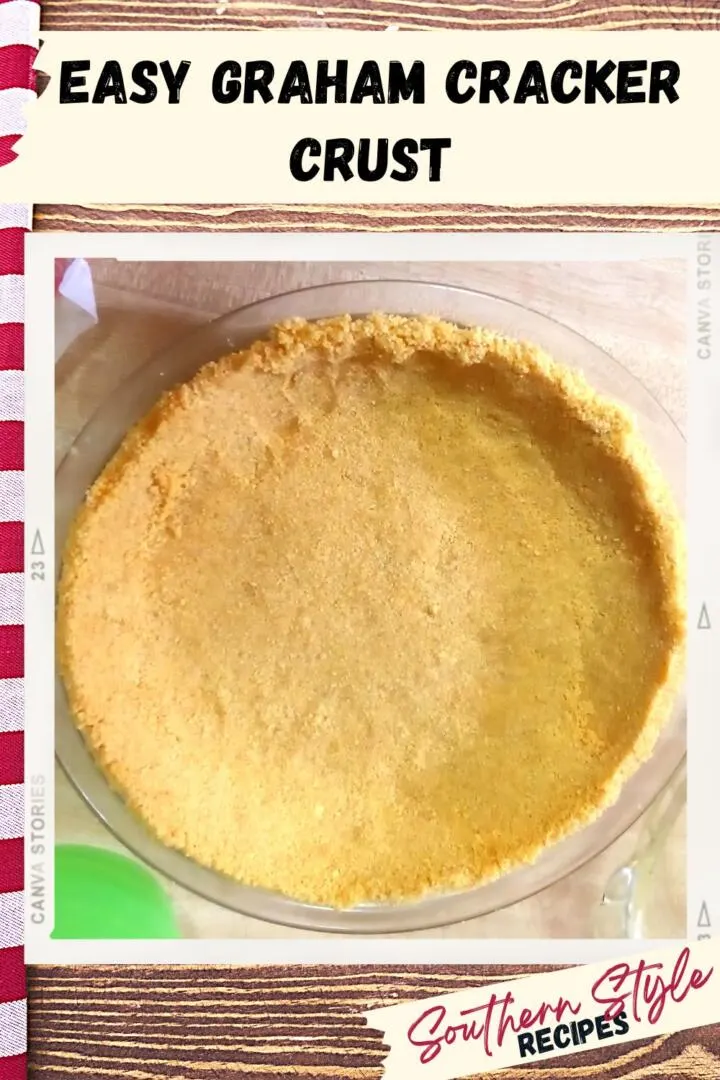
This easy graham cracker crust recipe works great with a lot of yummy pie recipes. Plus it only takes 3 simple ingredients!

Where Did This Graham Cracker Crust Recipe Originate?
Most graham cracker cookie boxes come with a pie crust recipe on the side or back. Perhaps you’ve thrown your box away before you realized you needed a recipe.
Well, my mom took one of those off of a Honey Maid Graham Cracker box once upon a time and since then has tweaked it just a little. She found that if you use just a little less graham cracker crumbs, the crust seems to stay together better and still taste great.
So here’s my mother’s variation on a graham cracker crust. Pictures courtesy of her. Thanks, Mom. 🙂
What Do You Need to Make Your Own Graham Cracker Crust?
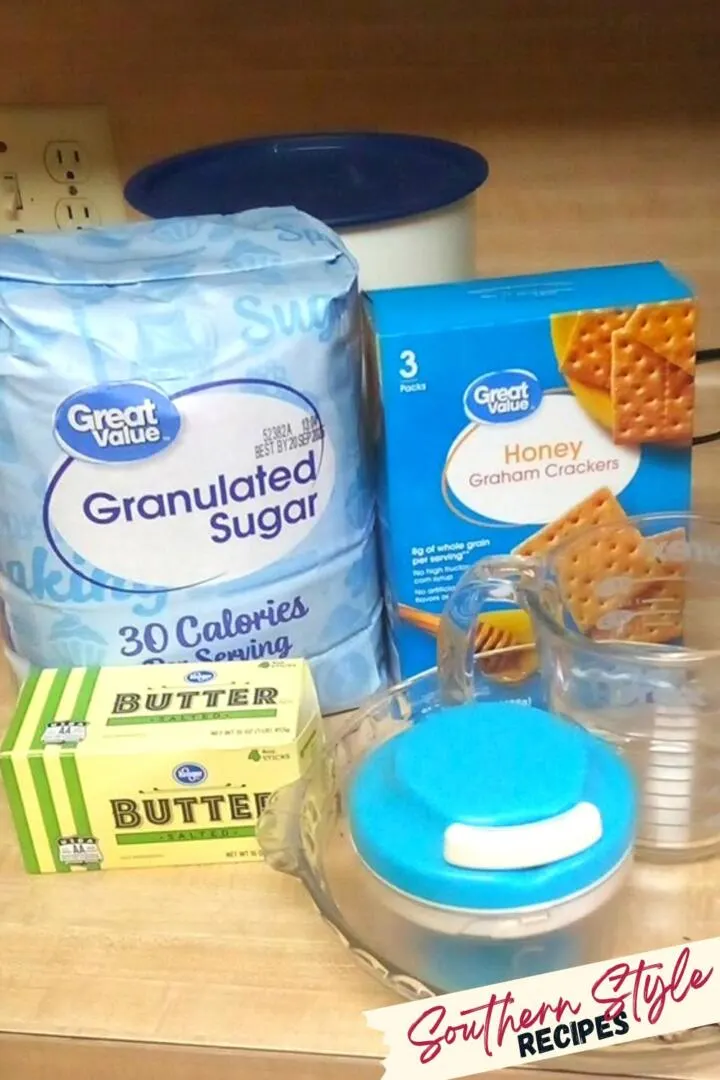
It’s simple. You just need 3 ingredients:
- Graham crackers
- Granulated sugar
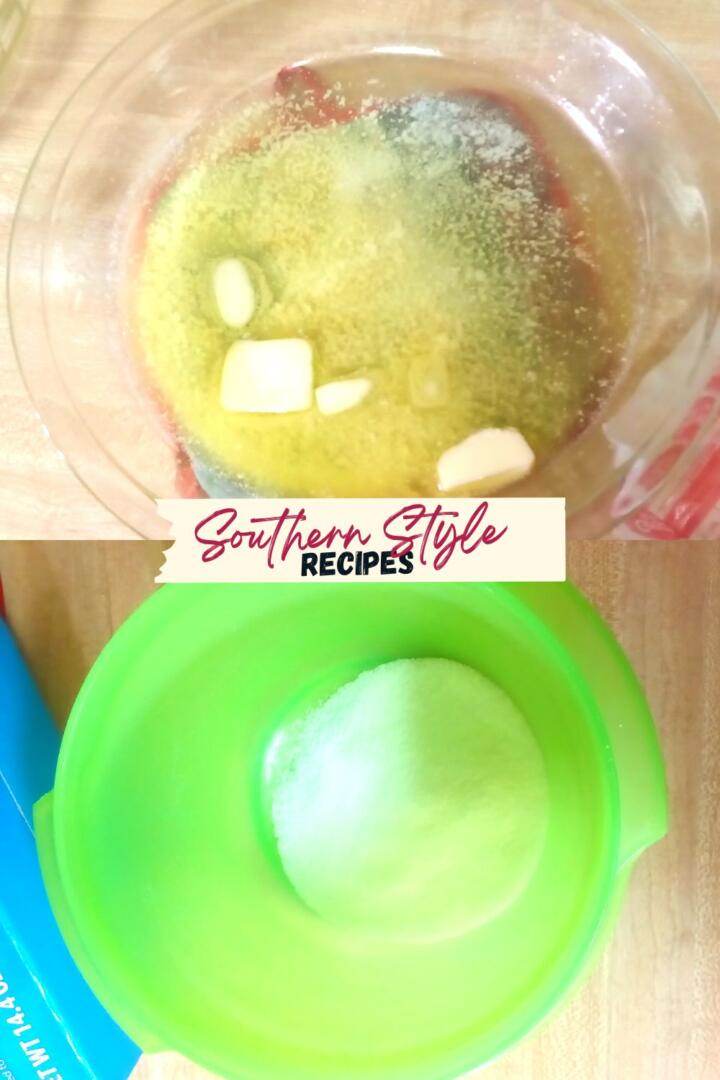
- Unsalted butter, melted

You’ll also need a kitchen tool to crush your graham crackers, for example, a hand chopper or food processor. (I’ll offer other options if you don’t have those.) Oh, and a 9-inch pie plate to form your crust in.
You’ll find a full printable recipe card at the bottom of this post with measurements and instructions.
How Do You Make a Classic Graham Cracker Pie Crust?
This is a super simple recipe.
First, you start with your whole graham crackers. You’ll need at least one sleeve of about 9 large graham cracker sheets for one crust.
You’ll want to crush them into small, fine crumbs. The smaller the better, so they’ll press into a good crust.
If you want to cheat, you can buy the graham crackers crumbs from the grocery store. (If you really want to cheat, you can buy a store-bought crust, but we’re not here for that. 😉 )
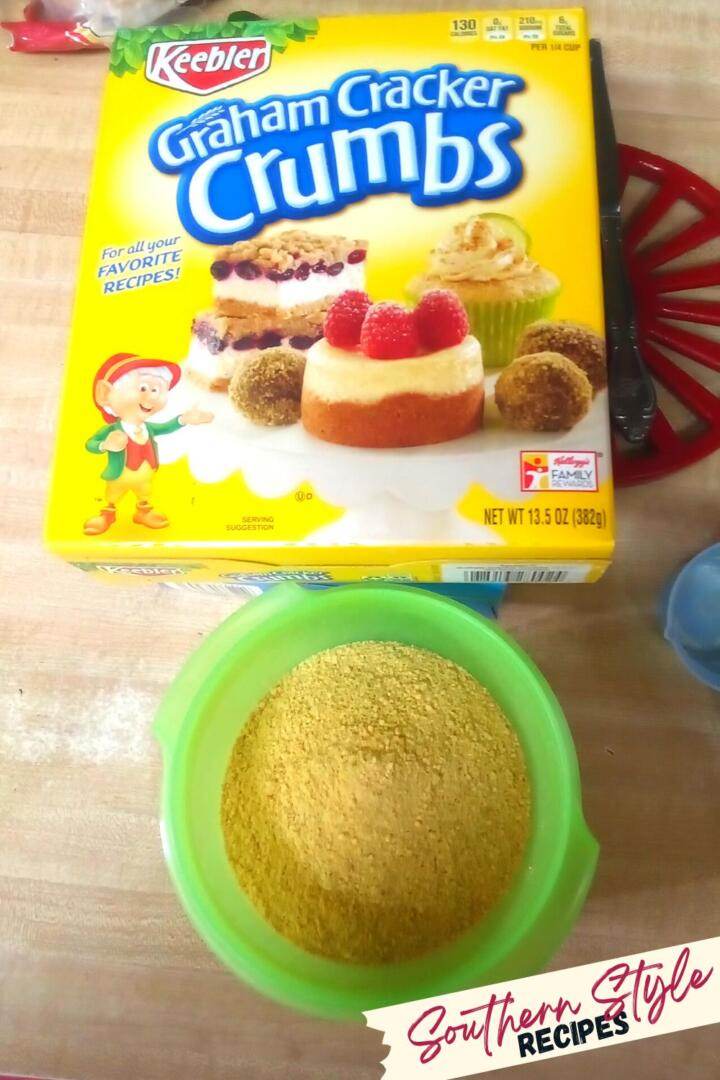
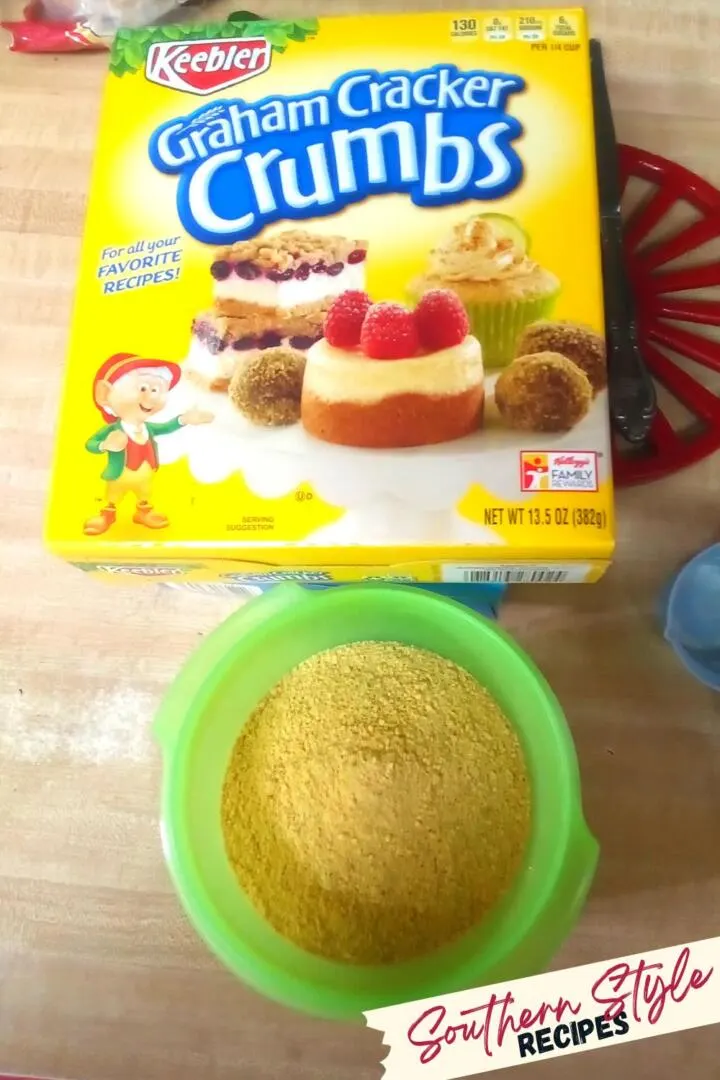
Otherwise, you’ll need to crush the graham crackers yourself.
How Do You Make Graham Cracker Crumbs?
You’ve got a few options on how to do this:
- Use a food processor (my sister’s preference)
- Use a hand chopper (my mother’s preference). My mother loves her Tupperware pull-string hand chopper, but a slap chopper style will work fine too.
- Place them in a sealed Ziploc bag and pulverize them with the smooth side of a food tenderizer mallet. (I admit, I’d like to take a whack at this one. 😉 ) A rolling pin would probably work too.
I’ve actually crumbled them by hand before, but it took quite a while and the pieces weren’t near as uniform.
Now for the Next Steps in this Homemade Graham Cracker Crust Recipe
Next up, in a small bowl, combine graham cracker crumbs with your granulated sugar until well mixed.
After that, melt your butter. My mom (and I do too) uses a glass pie pan and just melts the butter directly in the pie pan in the microwave. You could also just melt the butter in a glass measuring cup or microwave-safe bowl.

Either way, combine your dry ingredients with the melted butter and stir until all your sweetened graham cracker crumbs are moistened.

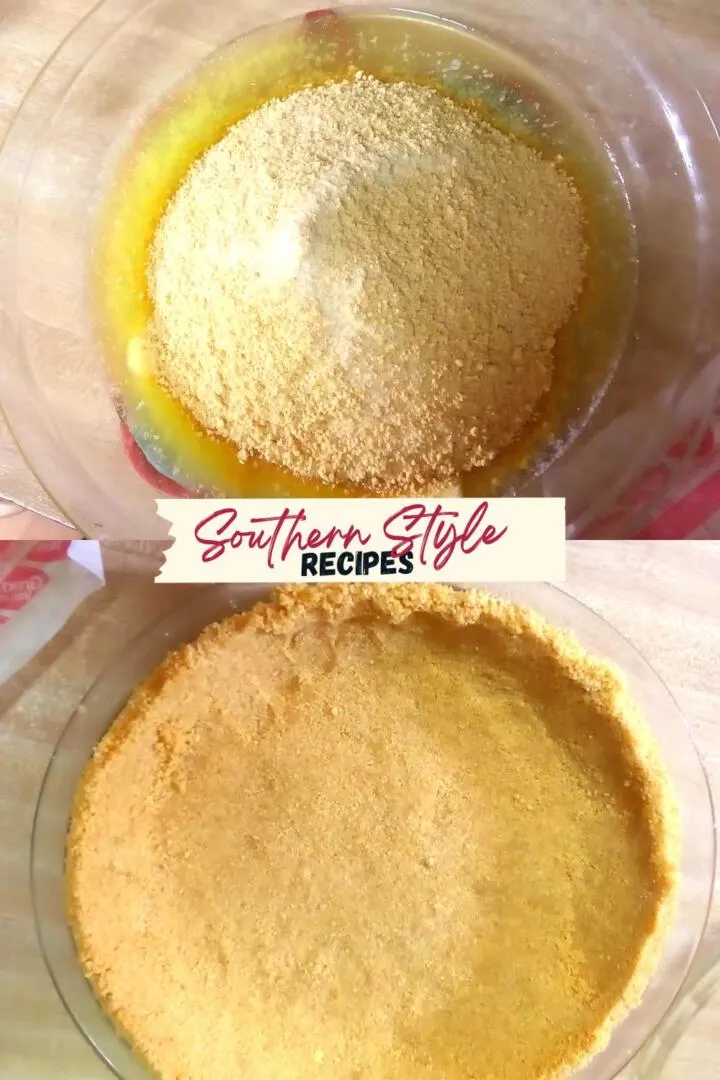
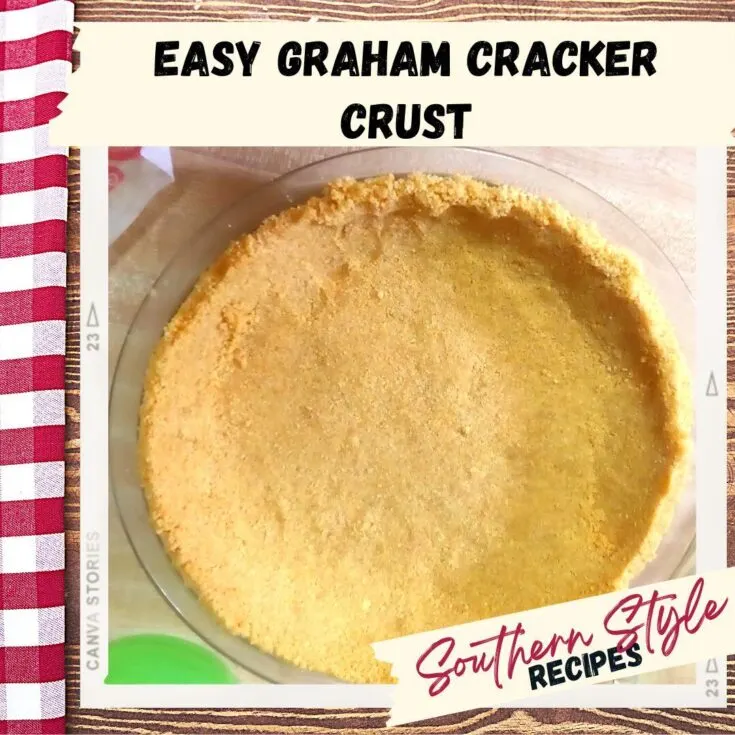
Next, firmly press your graham cracker crumb mixture into the pie pan, working them until they evenly coat the sides and bottom of the pan. The back of a metal spoon works well for this or your fingers.
(Note, some pie recipes may only use the crust on the bottom and not the sides, so keep that in mind.)
The more tightly the crumb crust is pressed, the better it will stay together when you go to serve up your pie.
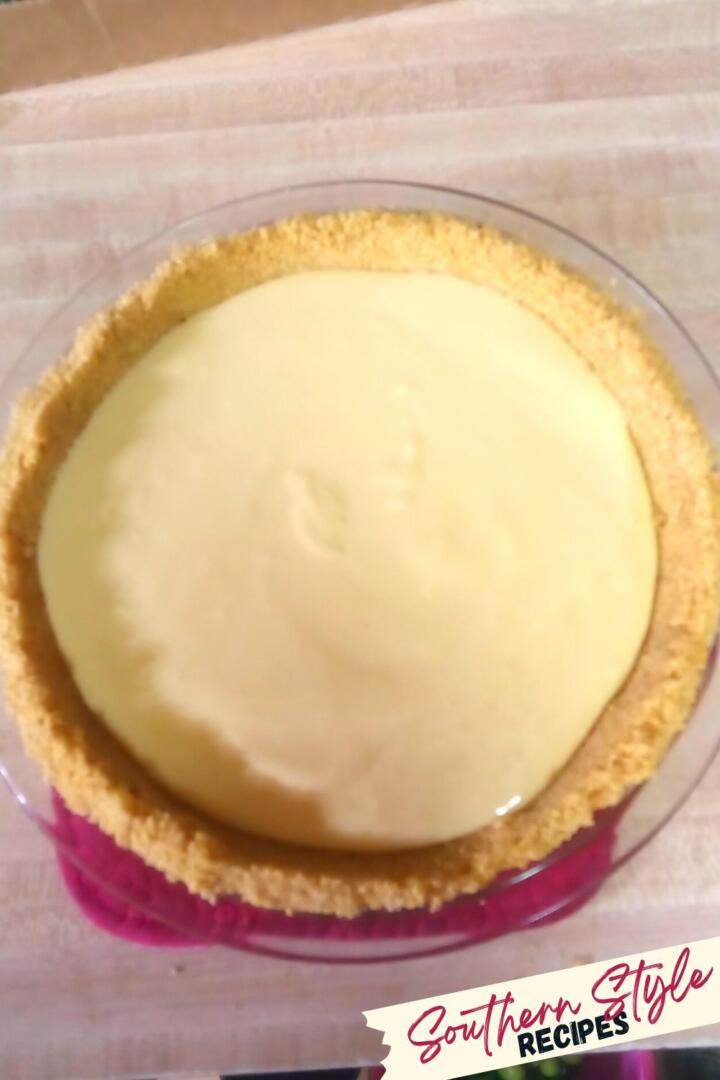
Add Your Favorite Filling to Your Homemade Pie Crust!
And that’s it! You now have a yummy crust to load with your favorite pie filling to make a delicious dessert. Be it banana cream pie, butterscotch pie, chocolate cream pie, etc.

Here’s some other recipes you might try with it as well:
- My great-grandmother’s easy lemon icebox pies (3 ingredients)
- My friend Janice’s Easy Key Lime Pie
- My mother’s Old-fashioned Chocolate pie (if the recipe isn’t up yet, a big box of Jello Cook ‘N Serve Chocolate Pudding will do in a pinch)
- A Classic Cheesecake
Graham Cracker Crust FAQs
“How many graham cracker sheets make a cup of crumbs?”
You’ll need approximately one package sleeve or 9 large graham cracker sheets to get the desired amount of crumbs.
“Can I make this a baked crust?”
If you’d like, sure. For an extra crispy graham cracker crust, put your pie crust in a 350-degree Fahrenheit oven for 6 to 8 minutes.
“How do I get my no-bake graham cracker crust from the pan when it’s time to serve?”
For easy removal of your no-bake crust from the pan, place the bottom of the pie plate in warm water for a few minutes. If you’re using a glass or ceramic pie dish, do not use hot water if the pan is cold from the refrigerator—the sharp change in temperature can crack the glass/ceramic.
“Can I use chocolate graham crackers instead?”
Sure thing. I bet that would be awesome with a chocolate pie filling or even a no-bake cheesecake filling. You could also use cinnamon graham crackers or even vanilla wafers.
“I’m out of white sugar. Can I use brown sugar in this recipe?”
Sure. It’ll change the flavor slightly, so I’d be mindful of that when selecting a filling.
“How do I store this sweet graham cracker crust?”
If you want to prep the crust in advance before using it, cover the pie pan with plastic wrap and place it in the fridge.
I hope you enjoy this easy recipe for a graham cracker crust. Please leave a comment and let us know what you decided to fill it with.
Happy Trails.
Easy Graham Cracker Crust
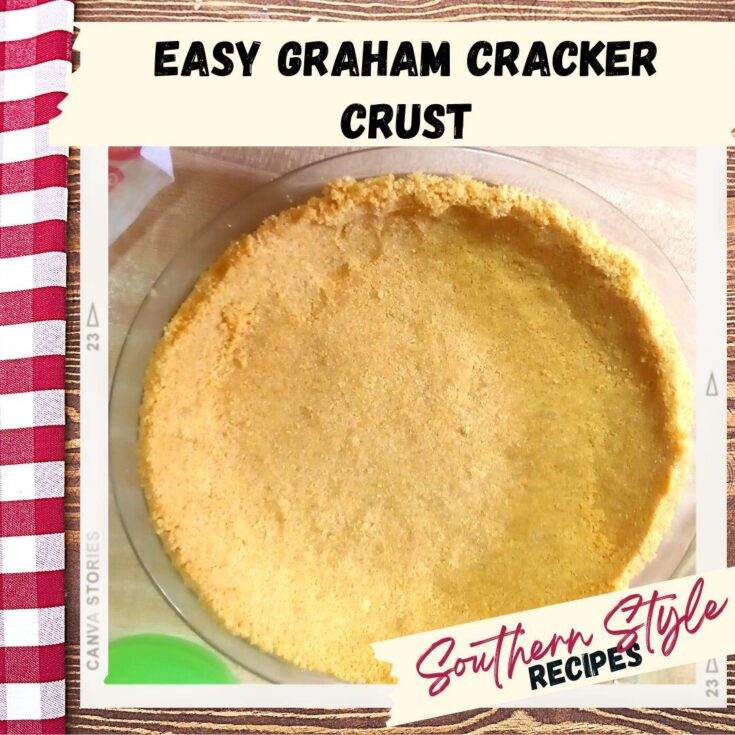
This easy graham cracker crust recipe works great with a lot of yummy pie recipes. Plus, it only takes 3 simple ingredients!
Ingredients
- 1 cup graham cracker crumbs
- 1/4 cup sugar
- 5 tbsp unsalted butter, melted
Instructions
- Pulverize the graham crackers into crumbs using a hand chopper or food processor. Putting the crackers in a Ziploc bag then crushing them with a food tenderizer mallet/rolling pin is another option. Eliminate any large chunks.
- Measure crumbs into a small bowl and add in sugar. Mix well.
- Melt butter and combine with dry ingredients until all sweetened graham cracker crumbs are moistened.
- Firmly press moistened crumbs into the pie pan, working them evenly along the sides and bottom.
Notes
- The tighter the crumb packing the better the crust will stay together when sliced and removed from the pan.
- For easy removal of your no-bake crust from the pan, place the bottom of pie pan in warm water for a few minutes. If using a glass or ceramic pie pan, do not use hot water if the pan is cold from the refrigerator—the sharp change in temperature can crack the glass/ceramic.
- For an extra crispy graham cracker crust, put your pie crust in a 350-degree Fahrenheit oven for 6 to 8 minutes.